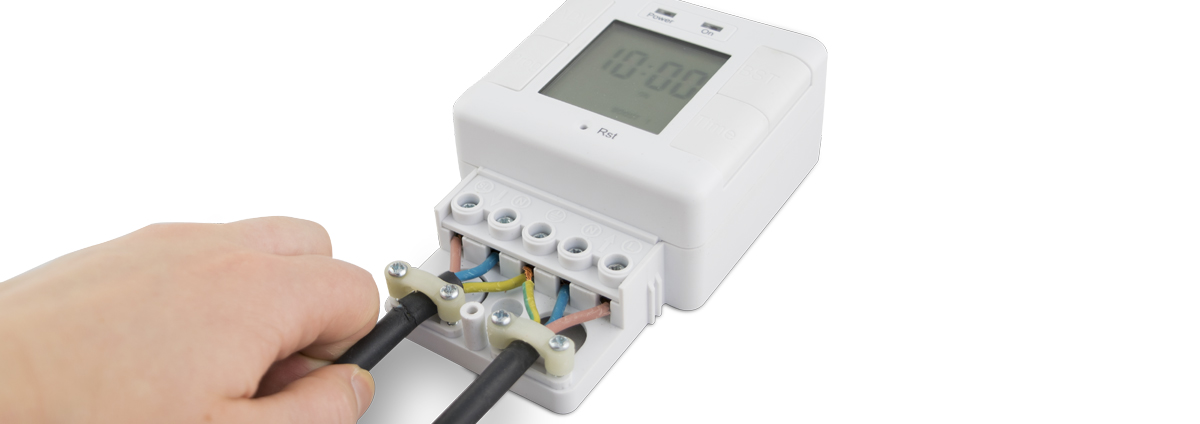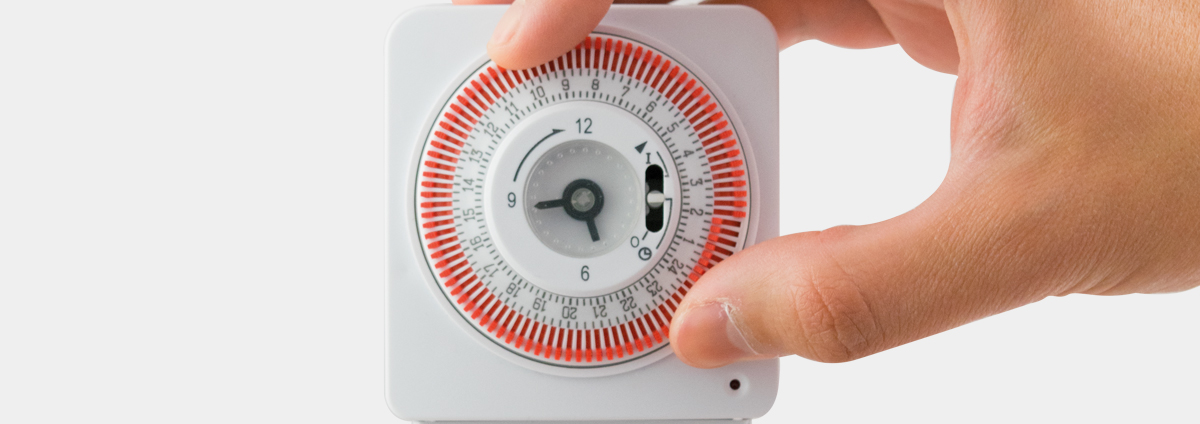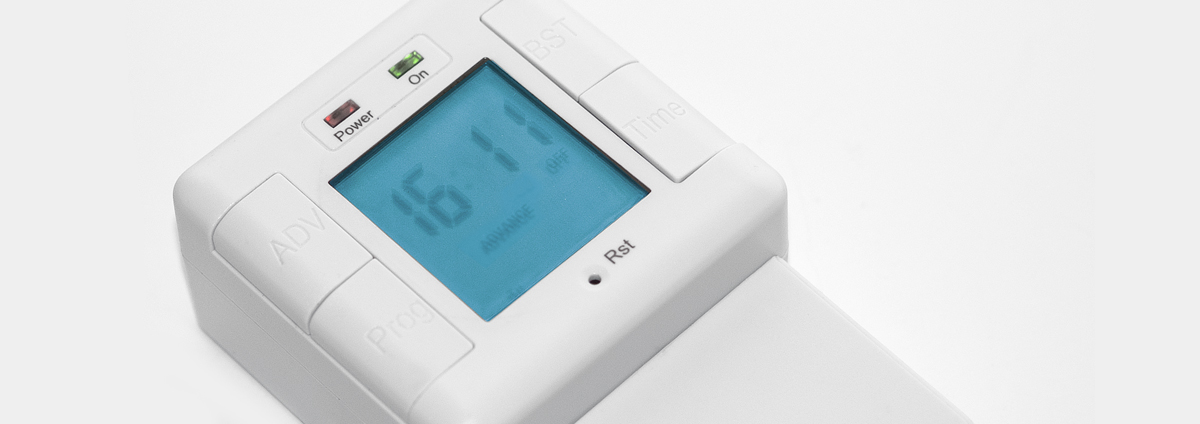
Step-01: Before starting any electrical work, make sure that the mains supply is turned off at the consumer unit.

Step-02: Unscrew the fixing screw to remove the cover at the bottom of the timer, exposing the terminals.

Step-03: For the bottom cable entry, carefully remove the knockouts with a suitable tool, ensuring the edges are smooth.

Step-04: Cut and remove the cable sheathing to suit the timer and terminal positions.

Step-05: Use the cable clamps to secure the cable into position.

Step-06: Insert the bare ends of the cable into the terminals as per the wiring instructions.

Step-07: Fully tighten the terminal screws and make sure that no bare copper is exposed outside of the terminal.

Step-08: Test that the wires are fixed in properly by pulling on the cable. If wire comes loose, repeat from step 6.

Step-09: Refit cover onto the front of the timer unit.

Step-10: Restore power to the circuit at the consumer unit and test.
Safety Instructions
- DO install in accordance with local building regulations
- DO use in accordance with the wiring instructions
- DO use cable of correct rating, size and type, to prevent fire hazard
- DO NOT exceed maximum load of 3840 Watts, 16(2)A
- DO NOT immerse in water. If cleaning is required, wipe with a dry cloth
- DO NOT use if damaged
- DO NOT use outdoors
Environmental Protection
This symbol is known as the ‘Crossed-out Wheelie Bin Symbol’. When this symbol is marked on a product or battery. It means that it should not be disposed of with your general household waste. Some chemicals contained within electrical/electronic products or batteries can be harmful to health and the environment. Only dispose of electrical/electronic/battery items in seperate collection schemes, which cater for the recovery and recycling of materials contained within. Your co-operation is vital to ensure the success of these schemes and for the protection of the environment.


