


Step-01: Before programming for the first time, leave the timer to charge for approximately 14 hours to charge the memory back up battery.
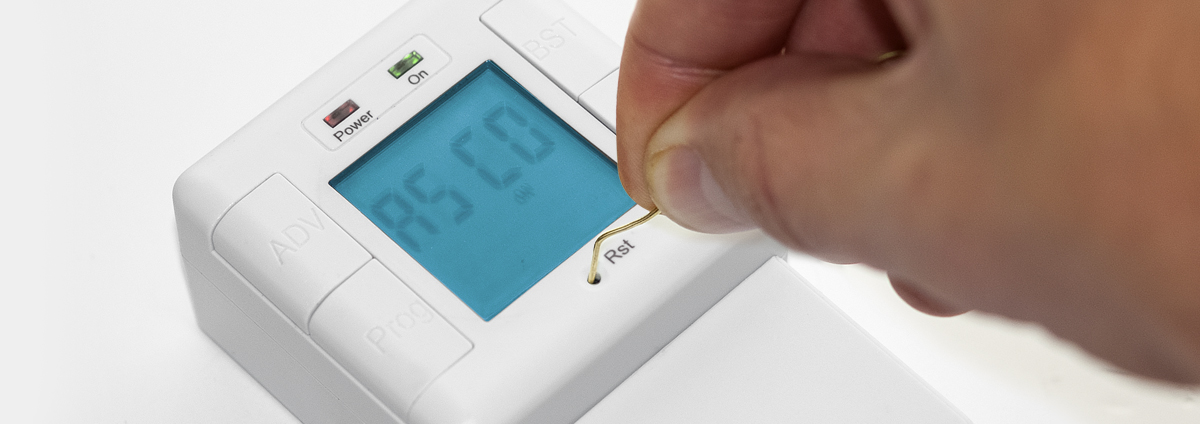
Step-02: Reset the timer before programming for the first time by pressing the RST button underneath the display using a pointed object after charging.
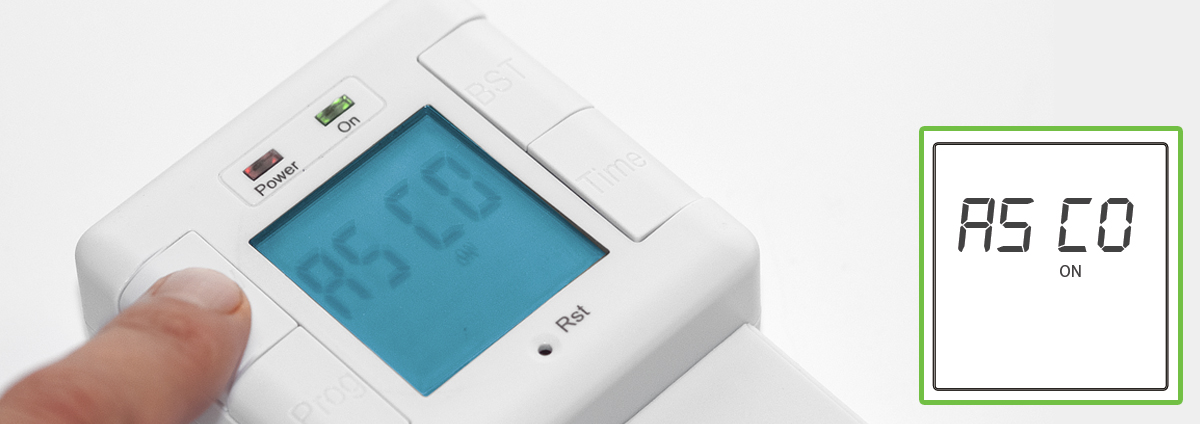
Step-03: Use the ADV button to charge between on and off for automatic summer time adjustment (Automatic Summer Change Over).

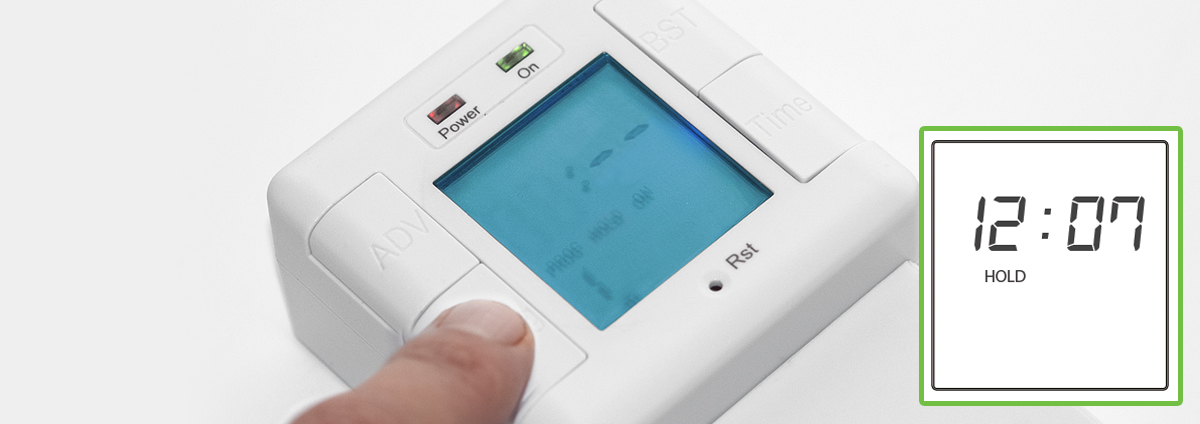
Step-04: To set the current time, press and hold down the Time button for 3 seconds. The word Hold will show on the screen.

Step-05: After 3 seconds, the screen will show Year. Use ADV or BST buttons to set the correct year and press Time again to set.

Step-06: Repeat step 5 for Month, Day, Hour (24 hour clock) and Minute. Press Time again to complete the process.

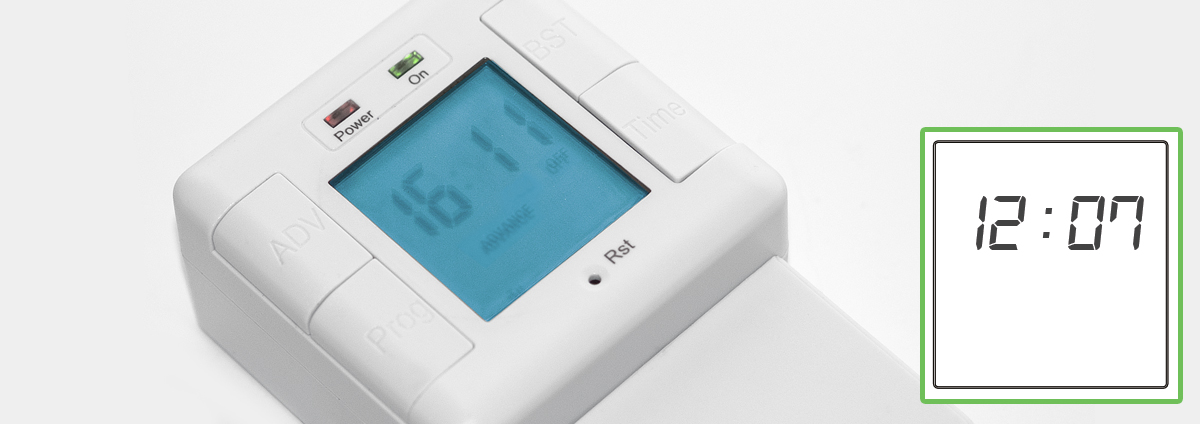
Step-07: The display should show the correct time and day of the week. If an incorrect value shows, repeat above steps.
Step-08: To set the On/Off times, press and hold the Prog button for 3 seconds. The word Hold will show on the screen.

Step-09: After 3 seconds, the timer enters into setting mode. Press ADV or BST to change the day grouping mode.
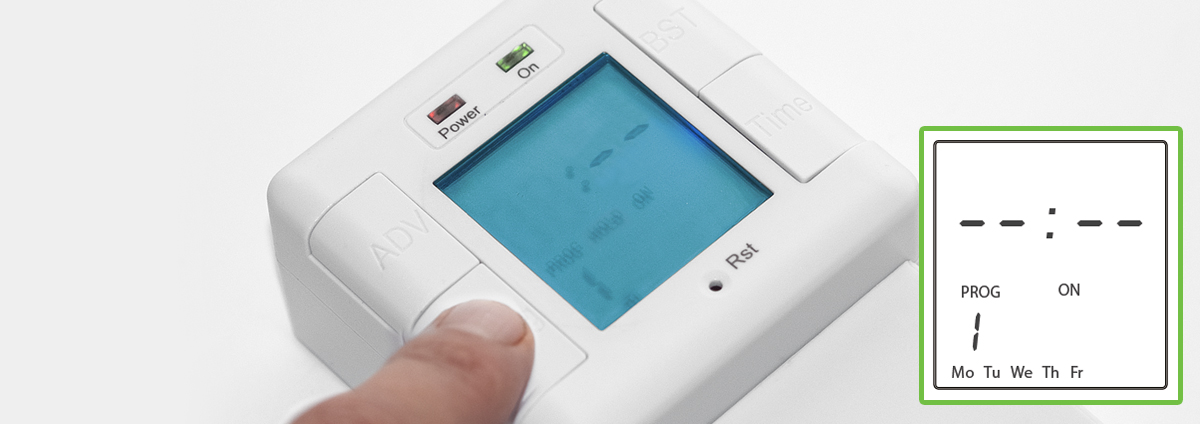
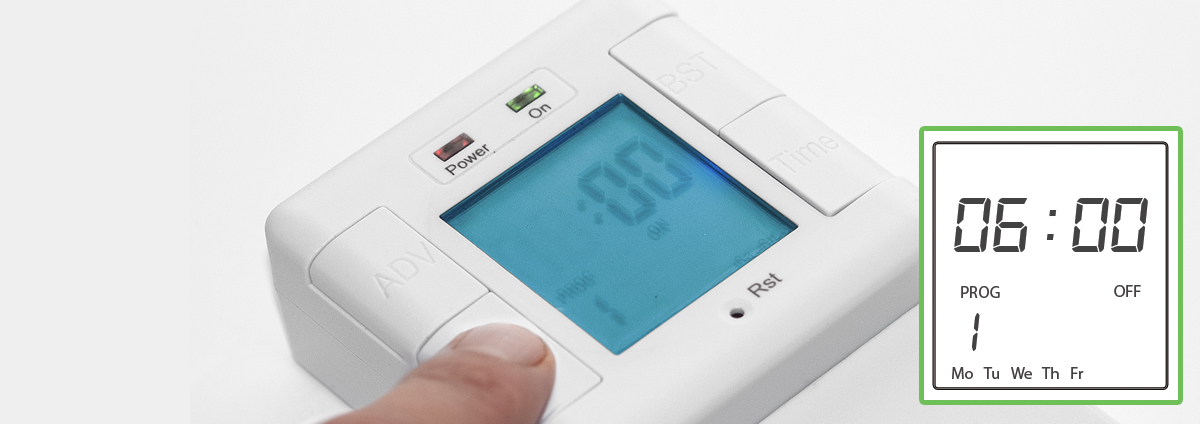
Step-10: Once the desired day grouping is selected, press Prog to move onto programming the on/off times. The display will show Prog 1, with dashes for the hours and minutes.
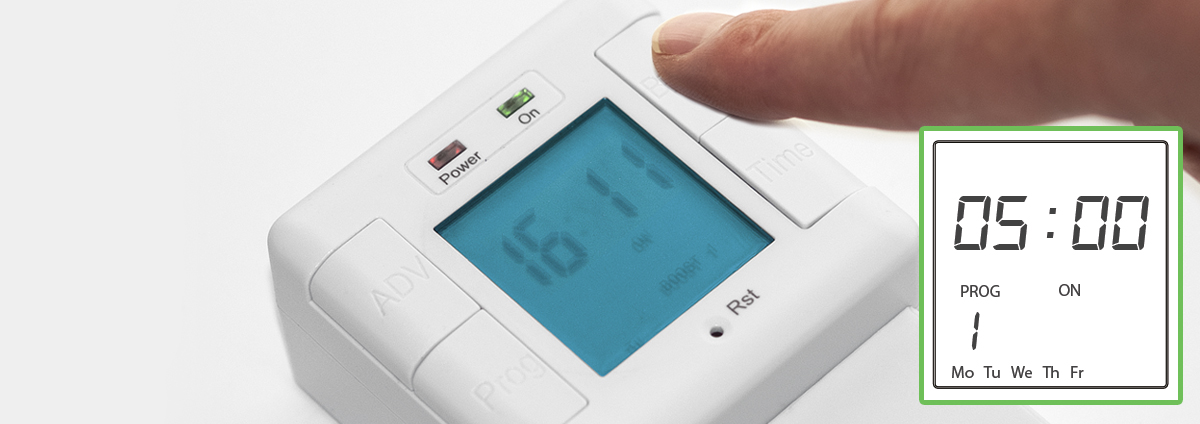
Step-11: Use ADV and BST to set the Hour for the first ON time. Press Prog to set and change to minutes and use ADV and BST to set the minutes.
Step-12: Press Prog to change to Prog 1 OFF time. Repeat this process for all ON/OFF time periods desired. If times are not required, leave the dashes in place and scroll past that programme.
Step-13: After the last off time for the programme has been set, press Prog to exit programme mode. At any stage in programming, if the Prog button is pressed and held for 3 seconds, the timer will return into operating mode.
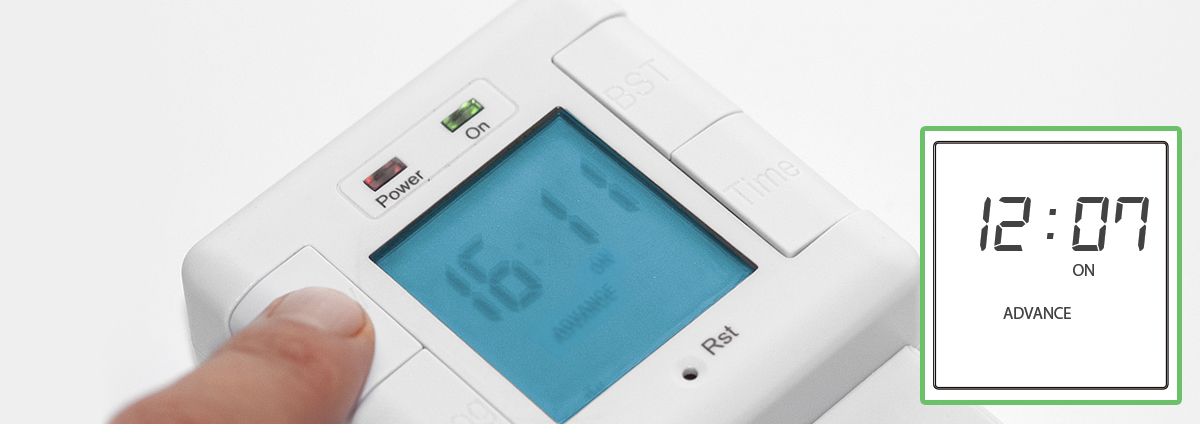
Step-14: In operating mode, ADV advances the programme to the next change. If the output is OFF, it will change the output to ON until the next programmed OFF time. If the outputs is ON it will change the output to OFF until the next programmed ON time.
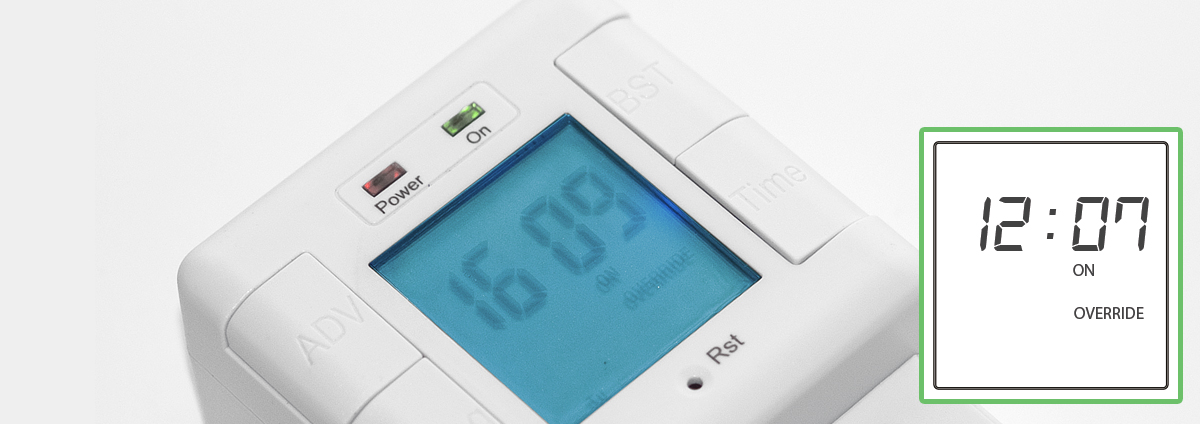
Step-15: A second push of the ADV button selects a permanently ON mode, where the output is ON, irrespective of the programming.
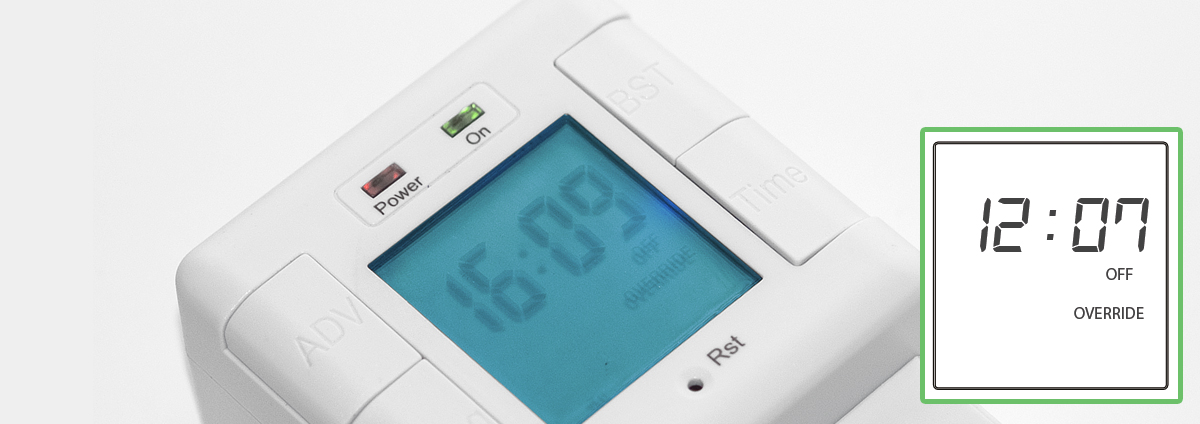
Step-16: A third push of the ADV button selects a permanently OFF mode, where the output is OFF, irrespective of the programming.
Step-17: A fourth push of the ADV button returns the unit to operating mode, where the output will conform to the programming again.
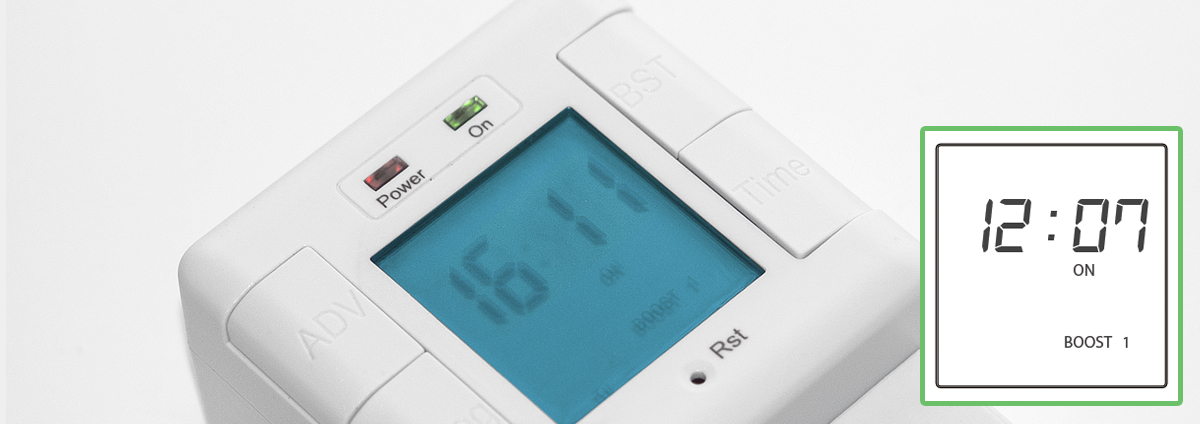
Step-18: In operating mode, one press of the BST button will provide power to the appliance for 1 hour after which the output will turn off.
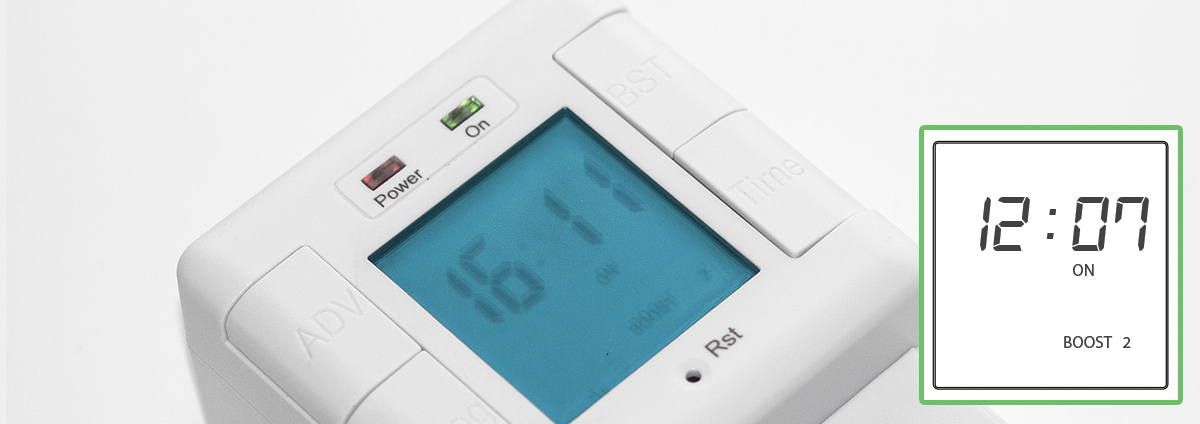
Step-19: A second push of the BST button will give a 2 hour boost.
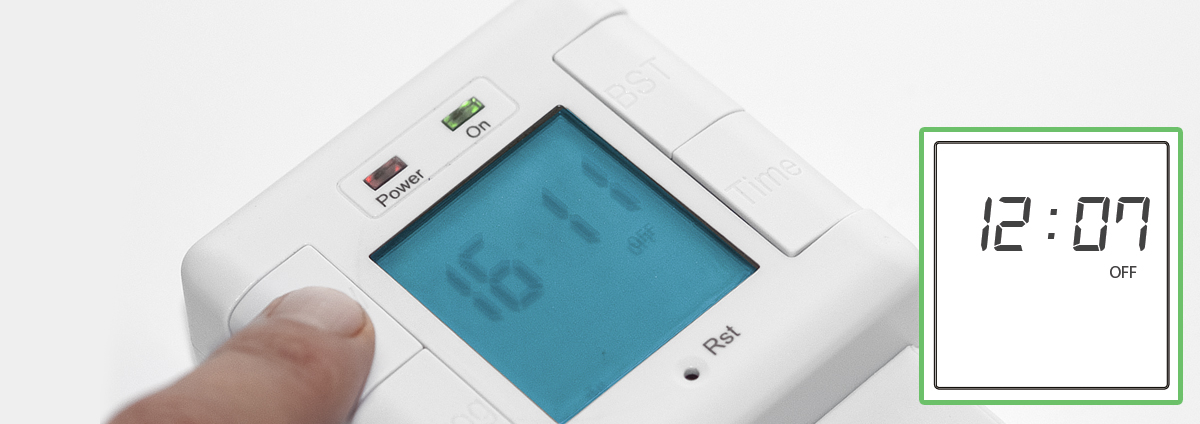
Step-20: A third push of the BST button will cancel any boost period.
Safety Instructions
- DO install in accordance with local building regulations
- DO use in accordance with the wiring instructions
- DO use cable of correct rating, size and type, to prevent fire hazard
- DO NOT exceed maximum load of 3840 Watts, 16(2)A
- DO NOT immerse in water. If cleaning is required, wipe with a dry cloth
- DO NOT use if damaged
- DO NOT use outdoors
If in doubt consult a competent electrician
Environmental Protection
This symbol is known as the ‘Crossed-out Wheelie Bin Symbol’. When this symbol is marked on a product or battery. It means that it should not be disposed of with your general household waste. Some chemicals contained within electrical/electronic products or batteries can be harmful to health and the environment. Only dispose of electrical/electronic/battery items in seperate collection schemes, which cater for the recovery and recycling of materials contained within. Your co-operation is vital to ensure the success of these schemes and for the protection of the environment.


